Since it's really very simple to correct, but not so simple to find instructions on how to do, I thought I'd share this little tutorial with you:
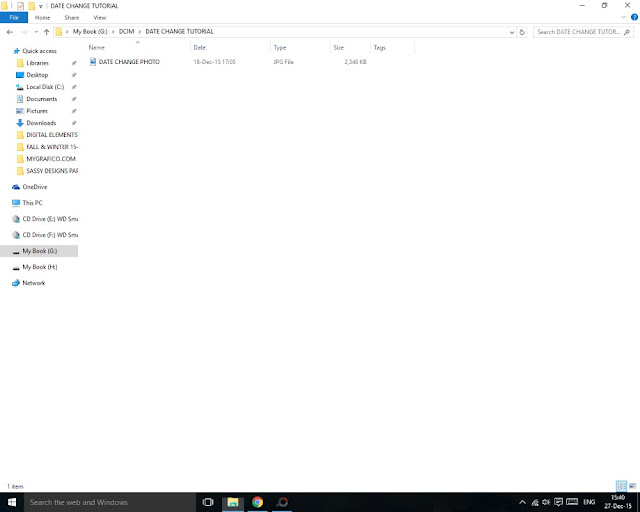
1) Find the photo(s) whose date you want to correct in Windows 10 File Explorer. See the screen below and the photo file DATE CHANGE PHOTO with a date of 18-Dec-15. I organize and look at all my photos in Adobe Bridge, but I couldn't find a way to change the date in my ancient CS4 version of Bridge. However, changing the date in Windows also changes it in Bridge. Any Bridge experts out there who know how to do this from Bridge, please feel free to share the expertise.
2) Right click on the file whose date you want to change and select Properties (the last in the list). A box pops up (screen capture below). This can be a little confusing so let me explain. In this box in the fourth section you see a Created: date (as well as Modified: and Accessed: dates). This is NOT the date the picture was taken, but rather the date it was uploaded into your computer. Ignore this date. Right click on the 'Details' tab.
This is especially confusing to Bridge users like me who 'Sort by Date created' in Bridge, where there it is the date the photo was taken.
3) At this screen look at the third section under Origin and you'll see Date taken (image below). This is the date you want to change.
4) Hover over this date and a change box will appear. Click in the box and simply change the date being sure not to alter the date style shown, or you can change by clicking on the small box to the right and a calendar will appear. Click the Apply box in the bottom right corner.
5) The new, corrected date you've entered will now appear as the Date taken in your system (screen below) and as your Date Created in Bridge. Don't ask me why I chose 27-Oct-2014 as the change date, I have no idea.


Thanks for the info.
ReplyDelete